 Save
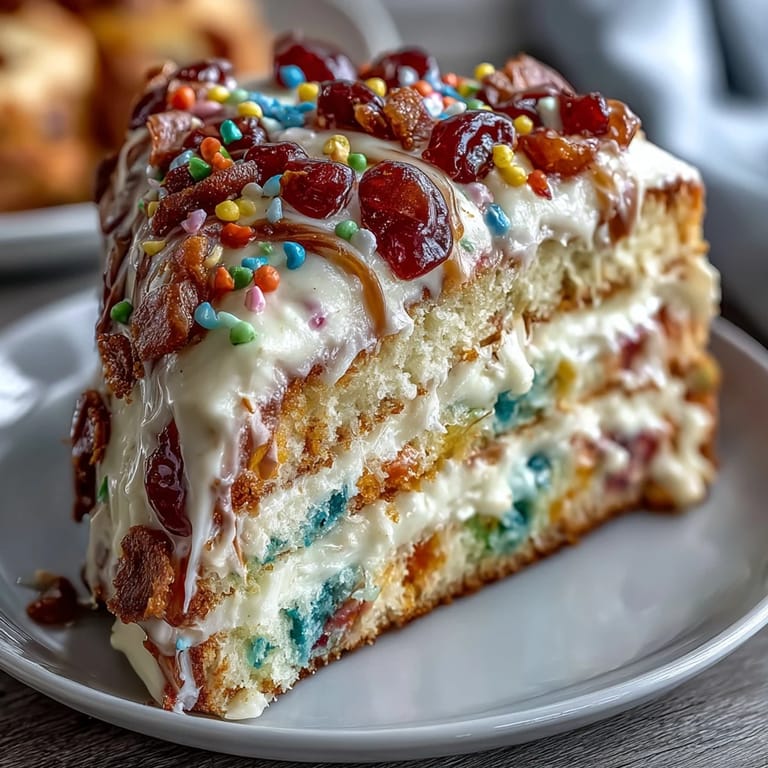
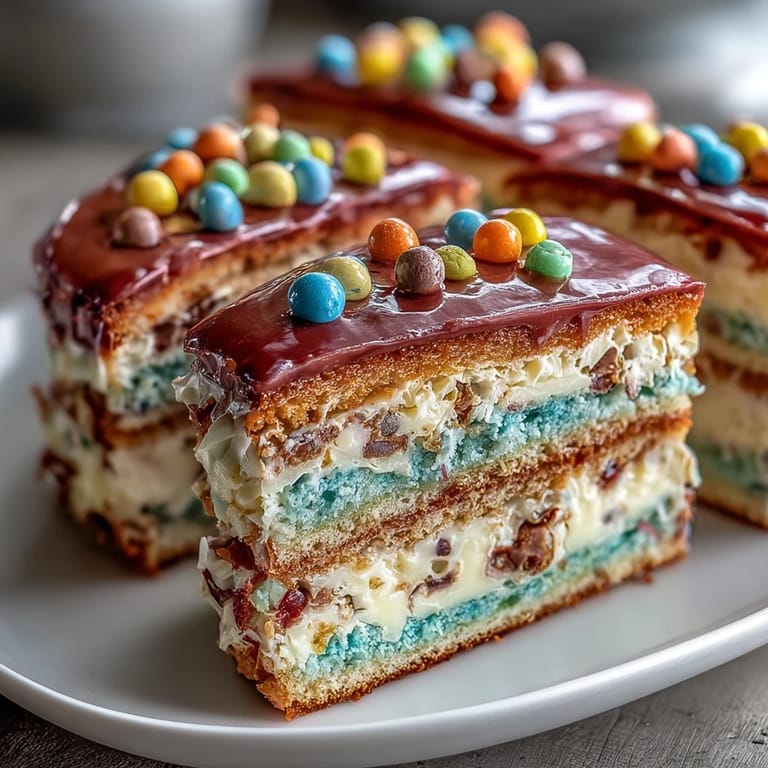
Save My daughter's eyes went wide the moment she bit into her first slice—that split second when the cake cracked open and a rainbow of candies tumbled onto her plate. I'd spent the afternoon layering colors like I was building something precious, and watching her discover that hidden treasure made every bowl, every timer, every careful stacking moment worth it. This Cinco de Mayo piñata cake became our tradition not because it's complicated, but because it transforms dessert into an actual celebration you can see and taste.
I remember standing in my kitchen on a humid May afternoon, flour dusting my apron, feeling slightly overwhelmed by the number of bowls I'd somehow created. My neighbor stopped by unexpectedly, took one look at the rainbow of batters, and asked if I was hosting a paint class instead of a party. By the time we cut into that cake together later that week, she was already asking me to make it for her daughter's birthday. That's when I knew this wasn't just a recipe—it was something that made people feel the effort behind it.
Ingredients
- All-purpose flour (3 cups): The foundation that holds everything together; sift it if you have time, but honestly, whisking it well works just as fine.
- Baking powder and baking soda (2 ½ tsp and ½ tsp): These are your lift agents, and they matter more than you think when you're dividing batter into six colors.
- Unsalted butter and granulated sugar (1 cup and 2 cups): Beat these until they're pale and fluffy—that's where the cake gets its tender crumb and subtle sweetness.
- Room temperature eggs (4 large): Cold eggs won't incorporate smoothly, so take them out of the fridge thirty minutes before you start; this detail changes everything.
- Vanilla extract (2 tsp): Use real vanilla if you can; it gives the cake a warmth that extract alone can't quite capture.
- Whole milk, room temperature (1 ¼ cups): Same rule as eggs—cold milk can seize your batter, so plan ahead.
- Gel food coloring (six colors): Gel holds the batter's structure better than liquid coloring; this keeps your layers vibrant without making them too wet.
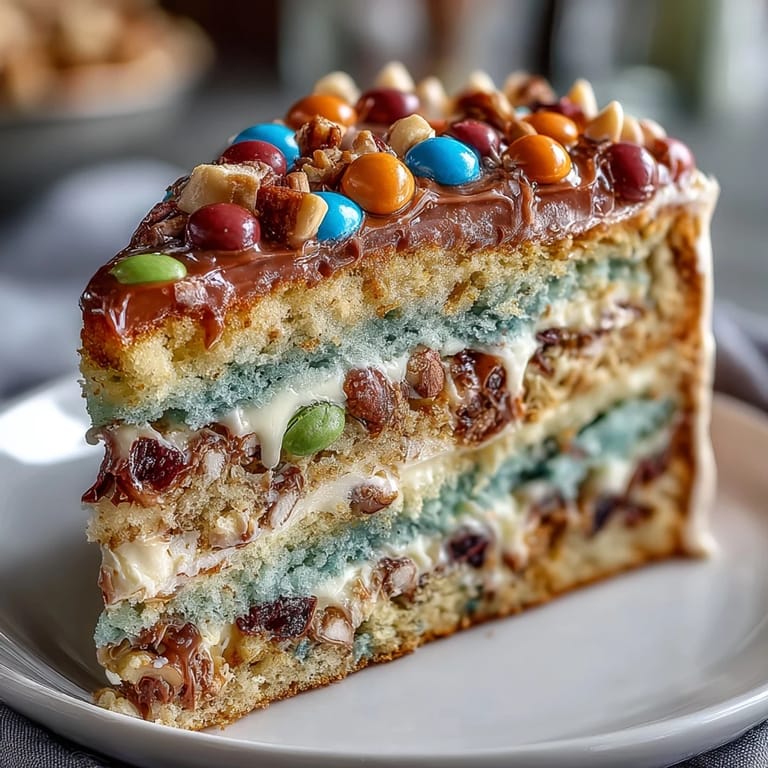
- Assorted small candies (1 ½ cups): M&Ms, gummy bears, and rainbow sprinkles work beautifully; avoid anything sticky or so large it won't fit the cavity.
- Butter for frosting (1 ½ cups): Softened, not melted—the texture matters as much as the taste when you're creating that fluffy frosting cloud.
- Powdered sugar, sifted (5 cups): Sifting takes two minutes and prevents grainy frosting; it's one of those small steps that shows on the final product.
- Milk and vanilla for frosting (¼ cup and 2 tsp): These keep the frosting creamy and spreadable without breaking it.
Tired of Takeout? 🥡
Get 10 meals you can make faster than delivery arrives. Seriously.
One email. No spam. Unsubscribe anytime.
Instructions
- Set your stage:
- Preheat the oven to 350°F and grease three 8-inch round pans with the kind of care you'd use for something irreplaceable. If you have more pans, great; if not, you'll bake in batches, which honestly gives you time to breathe between layers.
- Build your dry mixture:
- Whisk together flour, baking powder, baking soda, and salt in a medium bowl—this blend is your safety net, making sure the cake rises evenly across all six colors.
- Cream butter and sugar into clouds:
- In a large bowl, beat softened butter and sugar for about three minutes until it looks pale and light, almost like fluffy sand. This step aerates the batter, which is why your cake will be tender instead of dense.
- Fold in eggs one at a time:
- Add eggs individually, beating well after each addition—rushing this step means you'll have flecks of yolk instead of a smooth, emulsified batter. The mixture should look glossy and creamy.
- Add vanilla and weave in the dry mix:
- Stir in vanilla, then alternate adding your dry mixture and milk in three parts, starting and ending with the dry ingredients. Mix just until combined—overworking the batter develops gluten, which makes the cake tough.
- Paint with color:
- Divide the batter evenly into six bowls and tint each with a different gel color, using a toothpick to drop color in gradually so you get exactly the shade you want. Stir each one carefully until the color is uniform.
- Fill your pans:
- Pour each colored batter into its own greased and lined pan, smoothing the tops with an offset spatula so they bake evenly. If you're baking in batches, keep unused batter at room temperature.
- Bake with attention:
- Bake each layer for 15-18 minutes until a toothpick inserted in the center comes out clean—don't rely solely on time, because ovens behave differently. The cake should spring back slightly when you touch the top.
- Cool with patience:
- Let layers cool in pans for ten minutes, then turn them out onto wire racks to cool completely. Warm cake is too soft to carve; cold cake holds its shape like you mean it.
- Create the cavity:
- Once cool, use a 3-inch round cutter to cut a hole in the center of four of your six layers, being careful not to cut all the way through the bottom. Leave your top and bottom layers whole so the cavity stays sealed.
- Make frosting that spreads like silk:
- Beat softened butter until creamy, then gradually add sifted powdered sugar, milk, vanilla, and salt, beating until the frosting is smooth and fluffy enough to hold soft peaks. This takes longer than you think, but it's worth it.
- Stack with intention:
- Place your purple (or whichever color you chose) whole layer on a serving plate, spread a thin layer of frosting, and stack the first cut-out layer on top. Repeat with all four cut-out layers, frosting lightly between each one.
- Fill the treasure:
- Pour your assorted candies into the cavity created by the stacked cut-out layers, making sure they're distributed so the reveal is exciting from every angle. This is the moment where you realize you're making joy.
- Crown your creation:
- Place your final whole layer on top, sealing in the candy treasure like you're closing a treasure chest.
- Frost the outside generously:
- Frost the sides and top with remaining frosting, smoothing as you go or leaving it rustic—both look beautiful. You can decorate with colored frosting, sprinkles, or festive touches that match your celebration.
- Chill before the reveal:
- Pop the whole cake in the fridge for thirty minutes; cold cake slices cleaner, and the frosting sets so your presentation looks polished. When you slice, go slowly so everyone gets to see that candy surprise.
 Save
Save There was a moment at my niece's Cinco de Mayo party when I heard the whole table gasp in unison as the first slice revealed those hidden candies. It wasn't about the cake being perfect—one layer had come out slightly thinner than the others, and the frosting was a little bumpy. What mattered was that everyone at the table felt celebrated, surprised, and seen through something I'd made with my hands.
Coloring Your Layers Like an Artist
The most freeing part of this cake is that you get to decide which order your rainbow goes. I've made it with warm colors on top and cool colors on the bottom, and I've also gone completely random just to see what happened. The truth is that no matter how you arrange them, the colors always look stunning because you're baking with intention. If you want to get really creative, you can even paint the pans with food coloring before pouring in the batter, though honestly, the simplest method—just divide and tint—works beautifully and takes less stress.
The Frosting Moment That Matters
Frosting is where people often rush, but it's actually where you get to show off. If your frosting looks grainy, it means your powdered sugar wasn't fully incorporated or your butter temperature shifted. Keep your mixer going, add a tablespoon of milk at a time if it needs loosening, and give it patience. I learned this the hard way when I tried to frost a cake with grainy frosting and ended up looking like I'd applied concrete instead of clouds—now I take my time, and every cake looks like I meant for it to be that beautiful.
Timing and Make-Ahead Magic
You can bake all six layers a full day ahead and keep them covered at room temperature or wrapped and refrigerated. The frosting can be made the morning of your party. Assembly takes about twenty minutes once everything is ready, which means you can actually enjoy your guests instead of standing in the kitchen looking frazzled. Chill the finished cake for at least thirty minutes before slicing, and if you're slicing more than two hours ahead, keep it in the fridge so the frosting stays set and the colors stay vibrant.
- Baked layers keep covered at room temperature for one day or refrigerated for three days, so plan your baking around your party date.
- Frosting lasts up to two days in an airtight container, so you can make it even earlier if you're juggling a lot on party day.
- The whole assembled cake keeps for two days in the fridge, so you could even make it the day before your celebration.
 Save
Save This cake is about more than dessert—it's about creating a moment where everyone at the table feels the celebration. Make it, slice it, watch their faces, and know that you just gave them something they won't forget.
Recipe FAQs
- → How do I achieve the vibrant colors in the layers?
Use gel food coloring to tint each batter portion for vivid, intense colors without altering texture.
- → What is the best way to create the candy-filled center?
Cut out circles from select layers before stacking, then fill the hollow cavity with small, assorted candies for a surprise effect.
- → Can I prepare this dessert ahead of time?
Yes, chilling the assembled and frosted cake for at least 30 minutes enhances slicing and maintains the structure.
- → What candies work best for the piñata filling?
Choose small, non-melting candies like mini M&Ms, sprinkles, or gummy bears to prevent sogginess and ensure easy slicing.
- → How can I adapt this for gluten-free needs?
Substitute all-purpose flour with a 1:1 gluten-free flour blend to maintain texture and flavor.