 Save
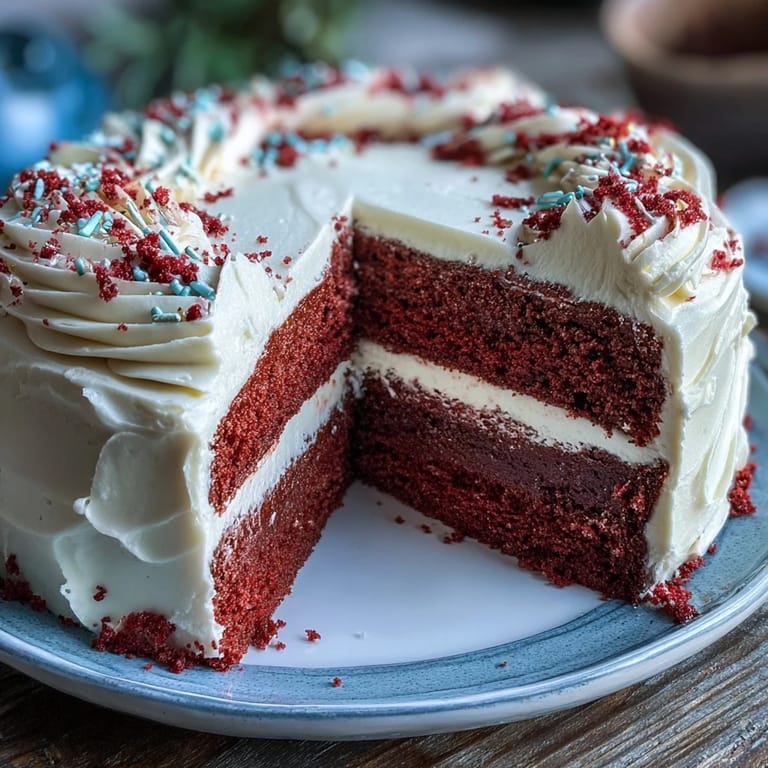
Save The vibrant red of this velvet cake always takes me back to kitchen gatherings, filled with laughter and the sweet aroma of baking. Each time I whip up this Juneteenth Red Velvet Cake, I feel the essence of Southern tradition swirl around me, blending joy and history. The rich cocoa notes marry beautifully with that tangy cream cheese frosting—it’s a combination that enchants everyone. Friends and family often crowd around the kitchen, eagerly awaiting the first slice, notes of excitement hanging in the air. It’s a celebration baked into layers, perfect for special occasions or just a delightful dessert at home.
I recall one summer evening, as the sun dipped low, I decided to bring this cake to our block party. The vibrant color made it stand out on the dessert table, and the moment I sliced into it, gasps of delight filled the air. Everyone clamored for a piece, and I felt a warm glow of satisfaction knowing I had shared something special, intertwined with stories of heritage and celebration. It became a sweet reminder of how food can unite us, transcending beyond mere ingredients into something that holds memories.
Ingredients
- All-purpose flour: The foundation of this cake, providing the perfect texture; sifting it ensures a light, airy crumb.
- Granulated sugar: This adds sweetness and helps with the cake's structure.
- Baking soda: A key leavening agent that gives the cake its rise.
- Cocoa powder: Just a touch to enhance the chocolate flavor without overpowering the red velvet.
- Vegetable oil: Keeps the cake moist and tender.
- Buttermilk: Adds a delightful tang and contributes to the cake's softness.
- Red food coloring: This is what transforms the cake into its signature hue; feel free to adjust for a deeper color.
- Vanilla extract: Imparts warmth and depth to the flavor profile.
- Cream cheese: For the frosting, it brings richness and a slight tang that works beautifully with the sweetness.
- Unsalted butter: Adds creaminess to the frosting; softer butter helps achieve that fluffy texture.
Tired of Takeout? 🥡
Get 10 meals you can make faster than delivery arrives. Seriously.
One email. No spam. Unsubscribe anytime.
Instructions
- Preheat the oven:
- Start by preheating your oven to 350°F (175°C) and greasing two 9-inch round cake pans so nothing sticks. The sound of the oven humming softly is always a promise of deliciousness to come.
- Mix the dry ingredients:
- Sift together flour, sugar, baking soda, salt, and cocoa powder in a bowl. The fine powdered texture that floats in the air like a sweet cloud sets a joyful tone for your baking session.
- Combine wet ingredients:
- In a separate bowl, whisk together oil, buttermilk, eggs, food coloring, vinegar, and vanilla until well blended. The vibrant red color will make you grin as you mix it all together.
- Mix it all together:
- Gradually incorporate the dry mix into the wet ingredients, folding gently to preserve that airy texture. Overmixing can lead to a heavy cake, and we certainly don’t want that!
- Bake the cake:
- Divide the batter evenly between the prepared pans and pop them in the oven. The smell wafting through the kitchen will have everyone asking what you’re baking.
- Cool down:
- Let the cakes cool in the pans for about 10 minutes before transferring them to a wire rack. Be careful not to rush this step; cooling is key to getting a perfect slice.
- Make the frosting:
- Beat together cream cheese and butter until light and fluffy, then add in powdered sugar, vanilla, and a pinch of salt. The mixture should be smooth and luscious, beckoning to be slathered on the cake.
- Assembly time:
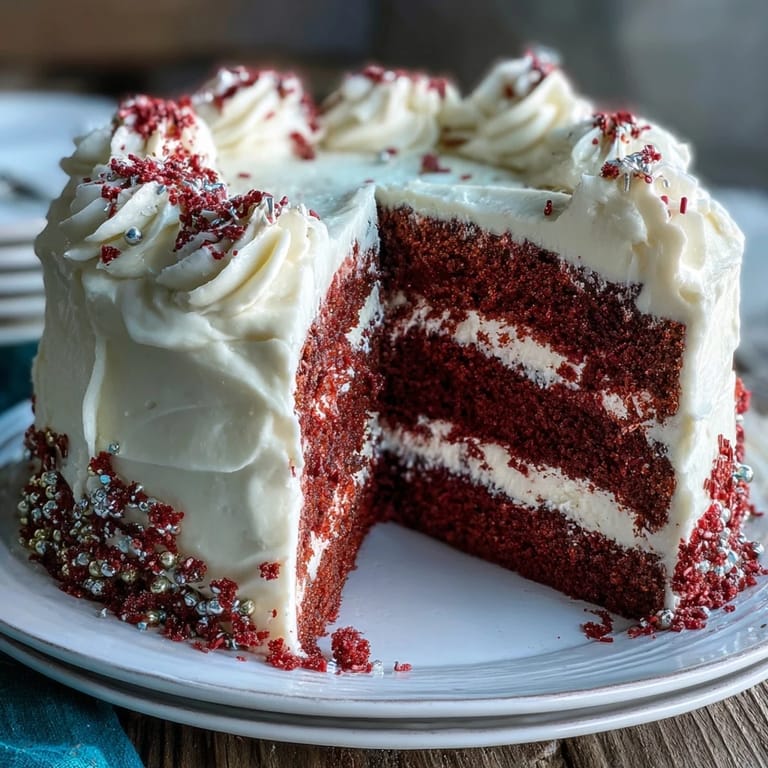
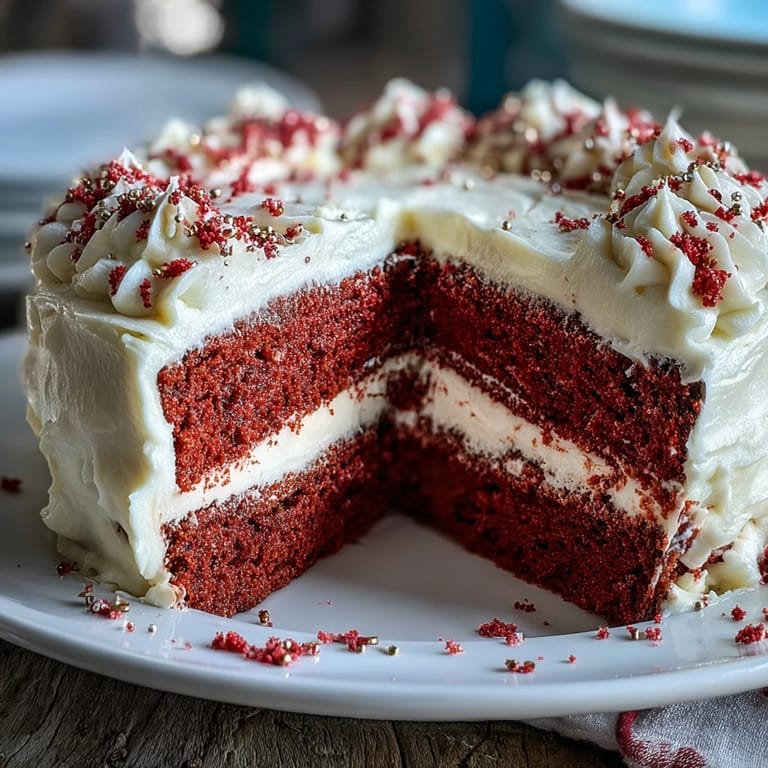
- Once cooled, spread frosting between the layers and cover the top and sides of the cake generously. The act of frosting can be as joyful as eating it, so feel free to get creative!
 Save
Save 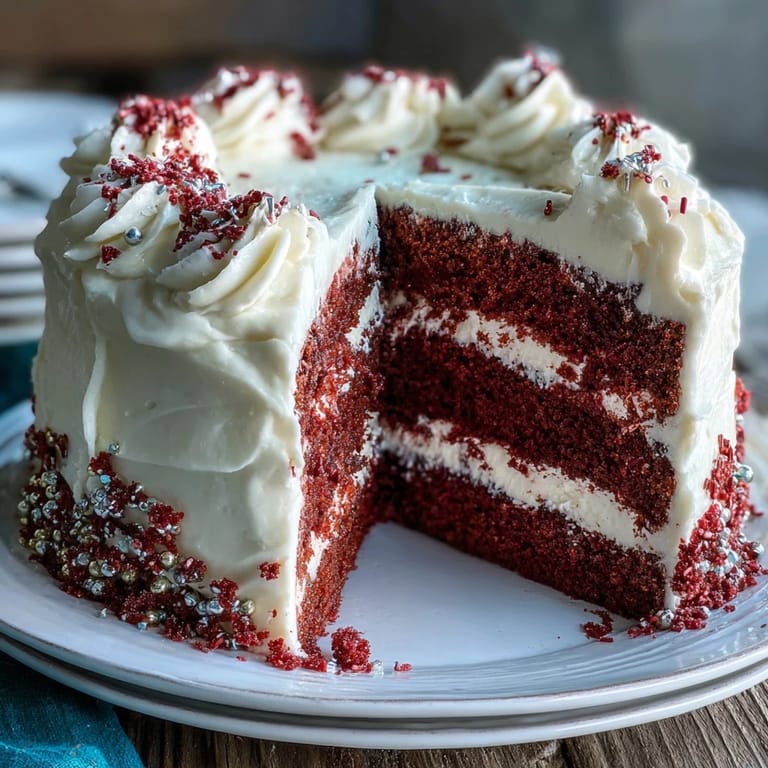 Save
Save This cake is more than just food; it becomes a part of shared laughter, stories, and connections. Watching friends enjoy each slice while reminiscing about the past brings a sense of warmth that goes beyond the ingredients.
Baking Tips from the Heart
One secret I've learned is to use room temperature ingredients; they blend together beautifully and help create that dreamy texture. Temperature matters more than we think, especially in baking where chemistry plays a crucial role.
Little Touches Make Big Changes
Consider adding a hint of orange zest to your cream cheese frosting for a subtle citrus twist. It brightens the taste and complements the cake wonderfully.
Celebrate with Style
This cake is perfect for any occasion, but it truly shines when shared at gatherings. Don't forget to make it beautiful by dressing it up with sprinkles or cake crumbs to match the festive spirit!
- Always serve with a smile for that extra flavor.
- Pair with a cup of coffee for a delightful afternoon treat.
- Leftovers? Cake makes a great breakfast, trust me!
 Save
Save 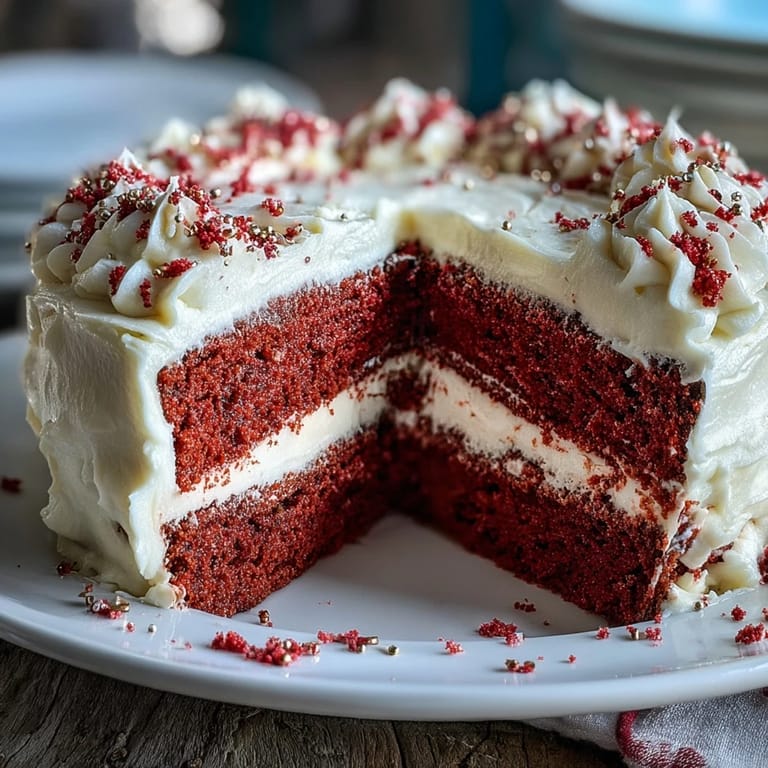 Save
Save This cake not only fills the stomach but also nourishes the soul; each bite is a reminder of shared joy and celebration. I hope it finds a special place in your kitchen and your heart.
Recipe FAQs
- → What can I use instead of buttermilk?
You can substitute buttermilk with a mixture of milk and vinegar or lemon juice. For each cup of buttermilk, use 1 cup of milk and add 1 tablespoon of vinegar or lemon juice, then let it sit for about 5 minutes.
- → How can I store the cake?
The cake should be stored in an airtight container in the refrigerator for up to 5 days. Alternatively, it can be covered well and frozen for up to 3 months.
- → Can I make this cake gluten-free?
Yes, you can substitute all-purpose flour with a gluten-free flour blend. Make sure it’s a 1:1 substitute to maintain the cake's texture.
- → Is there a way to enhance the flavor?
Adding a teaspoon of orange zest or a splash of almond extract to the frosting can elevate the flavor profile of the cake.
- → What kind of decorations work well?
Festive decorations like red or gold sprinkles are beautiful, as are fresh berries or edible flowers for a touch of color and elegance.