 Save
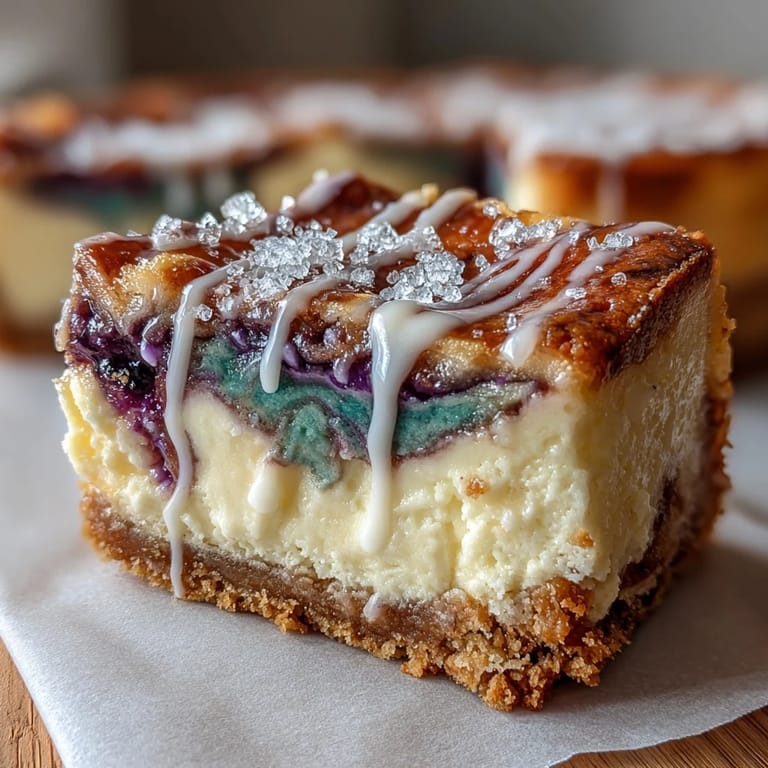
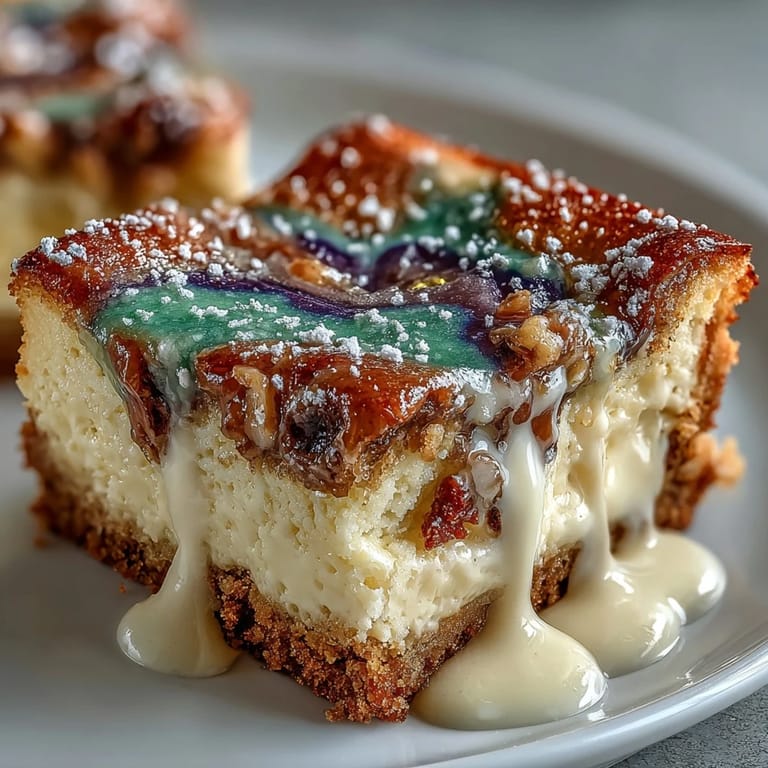
Save My kitchen exploded in purple, green, and gold the first time I attempted these bars, literally—a bottle of gel food coloring tipped sideways and stained my countertop for weeks. But something magical happened when I pulled that marbled cheesecake from the oven: it looked like edible Mardi Gras confetti, and suddenly the mess felt worth it. This recipe emerged from my obsession with combining two completely different desserts into one show-stopping bar that tastes as festive as it looks.
I brought these to a Mardi Gras party at my neighbor's place, and three grown adults actually gasped when I set them down. One person kept saying they were too pretty to eat, which lasted exactly four seconds before the bars started disappearing. That's when I knew I'd created something that bridges the gap between celebration and comfort food.
Ingredients
- Graham cracker crumbs: Use fresh ones if possible—that slightly stale box in your pantry changes the texture and absorbs the butter differently than you'd expect.
- Unsalted butter: The melted kind blends evenly into the crust, creating that perfect press-able texture without clumpy spots.
- Cream cheese: Let it sit on the counter for at least thirty minutes before beating, or you'll overwork the batter trying to break up cold chunks.
- Sour cream: This is what keeps the cheesecake from tasting overly sweet and adds a subtle tang that makes people ask what the secret ingredient is.
- Gel food coloring: Not the liquid stuff—gel colors are concentrated and won't thin out your batter, which I learned after my first watery disaster.
- Powdered sugar for icing: A tiny splash of milk at a time is key, because one extra tablespoon turns drizzle into soup.
- Sanding sugar: The sparkly topping transforms these from homemade to bakery-quality in literally ten seconds.
Tired of Takeout? 🥡
Get 10 meals you can make faster than delivery arrives. Seriously.
One email. No spam. Unsubscribe anytime.
Instructions
- Prep your pan like you mean it:
- Line your 9x9 with parchment so the overhang reaches the edges—this makes lifting the whole slab out feel impossibly easy later. Preheat to 325°F, which is lower and slower than you might think, but it prevents cracks from forming across the top.
- Build a crust that holds:
- Mix those graham crumbs with melted butter until it smells like a cozy dessert, then press it down with the bottom of a measuring cup for an even layer. Those first ten minutes of baking set the foundation, so don't skip it.
- Whip the cheesecake base until silky:
- Beat the cream cheese and sugar until there's not a single lump hiding in there—this takes longer than you think, but smooth is everything. Once you add the eggs, go slowly and let each one fully incorporate before the next one arrives.
- Color each portion separately:
- Divide into three bowls and add just a few drops of gel coloring, stirring gently until you've got the shade you want. These colors are stronger than you think, so restraint is your friend here.
- Swirl like you're painting:
- Drop random spoonfuls of each color across the crust, then take a knife and make loose figure-eights through the batter without overdoing it. A few bold swirls look intentional; too many passes turn it muddy.
- Bake until the jiggle is just right:
- After 35 to 40 minutes, the edges will be set but the center should wobble slightly when you shake the pan—that wobble becomes the creamy part you're after. Let it cool completely before chilling overnight, which helps the flavors settle and the bars slice cleanly.
- Finish with flavor and sparkle:
- Whisk that powdered sugar and milk into a thin glaze, drizzle it across the top, then scatter the sanding sugar while the glaze is still wet so it sticks. This is where people's eyes light up.
 Save
Save My friend who never bakes anything texted me a photo of these bars three weeks later, saying she'd made them for her book club and felt like a completely different person. That moment stuck with me because it reminded me that a great recipe does more than taste good—it makes people feel capable.
The Mardi Gras Connection
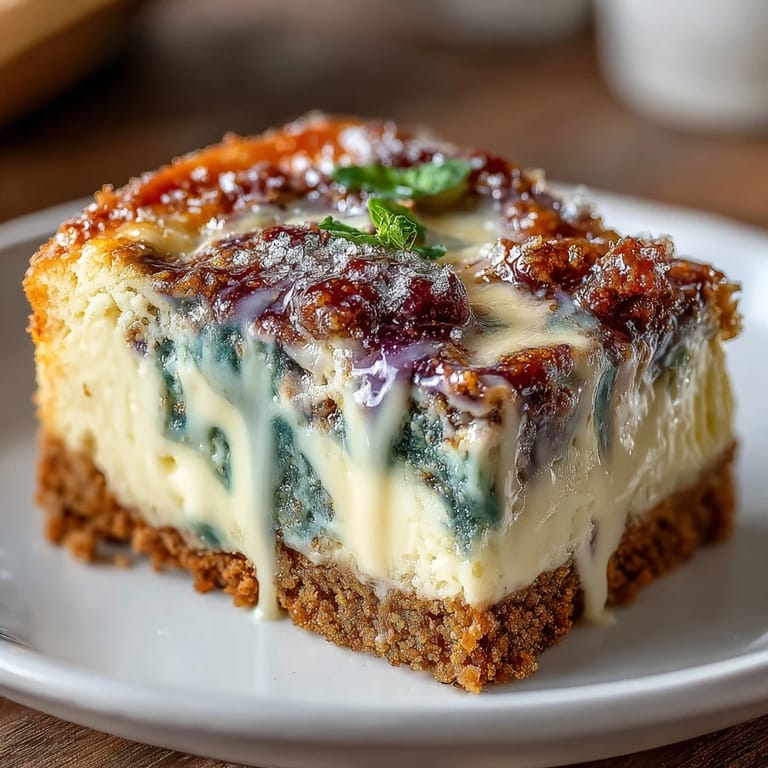
These bars capture everything I love about king cake—that festive spirit, the bold colors, the sense that something special is happening—but in a dessert that actually holds together on a plate. The cinnamon crust nods to traditional king cake spices while the creamy cheesecake layer brings luxury to what's essentially a celebration bar. I've never been one for overly themed desserts, but this one manages to feel authentic to the holiday without being gimmicky.
Customizing Your Swirl
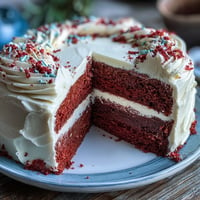
The beauty of this recipe is that the color combinations are entirely up to you—if purple and green don't speak to your soul, swap them for whatever feels festive. Red and white for Christmas, pink and blue for a baby shower, or even just two colors if you prefer a simpler look. The technique stays exactly the same, and the cheesecake base works beautifully with any gel coloring you choose.
Storage and Serving Ideas
These bars actually taste better the next day as the flavors meld and the cheesecake sets completely firm, making them perfect for baking ahead of time. Keep them covered in the fridge for up to five days, and they slice cleanest when cold, so don't let them sit out too long before cutting. If you're feeling adventurous, you can tuck a tiny plastic Mardi Gras baby into one bar after it's fully chilled—just warn your guests first unless you're the kind of person who enjoys unexpected surprises.
- Slice with a hot, wet knife and wipe between cuts for clean edges that make the swirls pop visually.
- These travel well in a box if you're bringing them to a party, and they're sturdy enough to handle being transported without falling apart.
- For a celebration, arrange them on a platter and let people choose their bar based on which color combination catches their eye.
 Save
Save Making these bars taught me that sometimes the best desserts are the ones that make people smile before they even take a bite. They're worth the minimal effort, and honestly, they're a lot more fun to make than the result might suggest.
Recipe FAQs
- → How are the vibrant swirls created in the cheesecake layer?
The cream cheese batter is separated into portions and tinted with gel food coloring in purple, green, and gold. These colored batters are dropped and gently swirled before baking to create a marbled effect.
- → What type of crust is used for these bars?
A buttery cinnamon graham cracker crust forms the base, baked briefly before adding the cheesecake batter for a firm yet tender foundation.
- → Can alternative biscuits be used for the crust?
Yes, vanilla wafers or digestive biscuits can replace graham crackers to alter flavor and texture while maintaining a sturdy base.
- → How long should the bars be chilled for the best texture?
After baking, chilling for at least 4 hours or overnight allows the bars to set properly and enhances the creamy texture.
- → What is the purpose of the sanding sugar topping?
Colored sanding sugar adds a sparkling, festive finish that enhances the look and adds a subtle crunch to the bars.
- → Are there any allergens to be aware of?
This dessert contains milk, eggs, and gluten. Almond extract is optional and can be omitted for nut allergies.