 Save
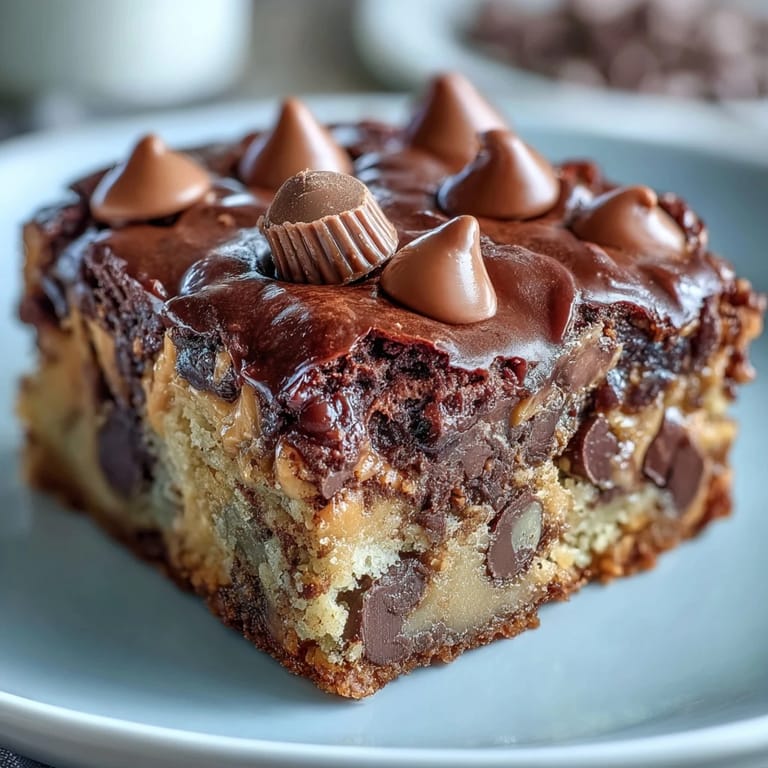
Save The weather had turned rainy and gray last Sunday, and my roommate Emma wandered into the kitchen looking for comfort. She mentioned peanut butter cups being her absolute weakness, and I immediately thought of this dump cake recipe Id been meaning to try. Something about the combination of warm chocolate cake and melting peanut butter felt exactly right for a dreary afternoon.
We pulled it out of the oven, and the smell was absolutely ridiculous in the best way possible. Emma took that first bite while it was still warm, closed her eyes, and actually said this is what happiness tastes like. Now whenever she has a rough week, she sends me a text with a single peanut butter emoji.
Ingredients
- Devils food chocolate cake mix: The deep chocolate flavor stands up beautifully to the rich peanut butter, and Ive found the box mix actually works better here than homemade batter
- Creamy peanut butter: Room temperature is non negotiable here because cold peanut butter wont spread evenly and youll get uneven pockets
- Unsalted butter, melted: I always salt my butter separately if needed, but starting with unsalted lets you control the final flavor
- Whole milk: The fat content makes the cake incredibly moist, though Ive used 2 percent in a pinch
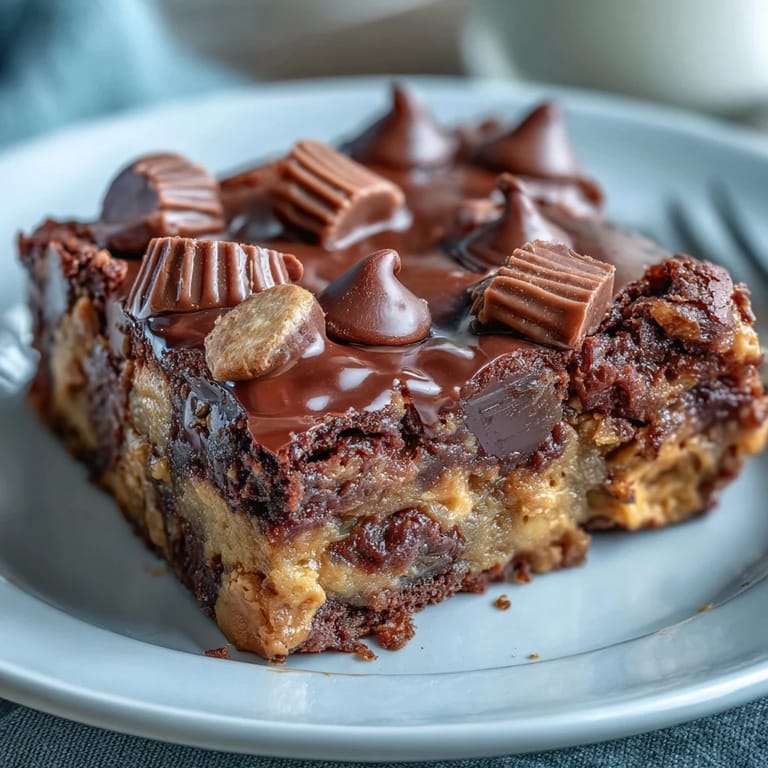
- Mini peanut butter cups: The mini size is perfect because they distribute evenly and melt into lovely puddles throughout
- Semi sweet chocolate chips: These balance the sweetness from the peanut butter cups and cake mix
Tired of Takeout? 🥡
Get 10 meals you can make faster than delivery arrives. Seriously.
One email. No spam. Unsubscribe anytime.
Instructions
- Get your oven ready:
- Preheat to 350°F and grease your 9x13 dish thoroughly, paying special attention to the corners
- Create the peanut butter layer:
- Spread the room temperature peanut butter in an even layer across the bottom of your dish
- Make the cake batter:
- Whisk together the cake mix, melted butter, and milk until mostly smooth, but dont overwork it
- Layer it up:
- Pour the batter carefully over the peanut butter layer, trying not to disturb the base
- Add the toppings:
- Scatter those mini peanut butter cups and chocolate chips evenly across the top
- Bake until perfect:
- Bake for 35 to 40 minutes until set, and remember a few moist crumbs are totally fine
- The hardest part:
- Let it cool for at least 15 minutes, though warm slices with vanilla ice cream are pretty irresistible
 Save
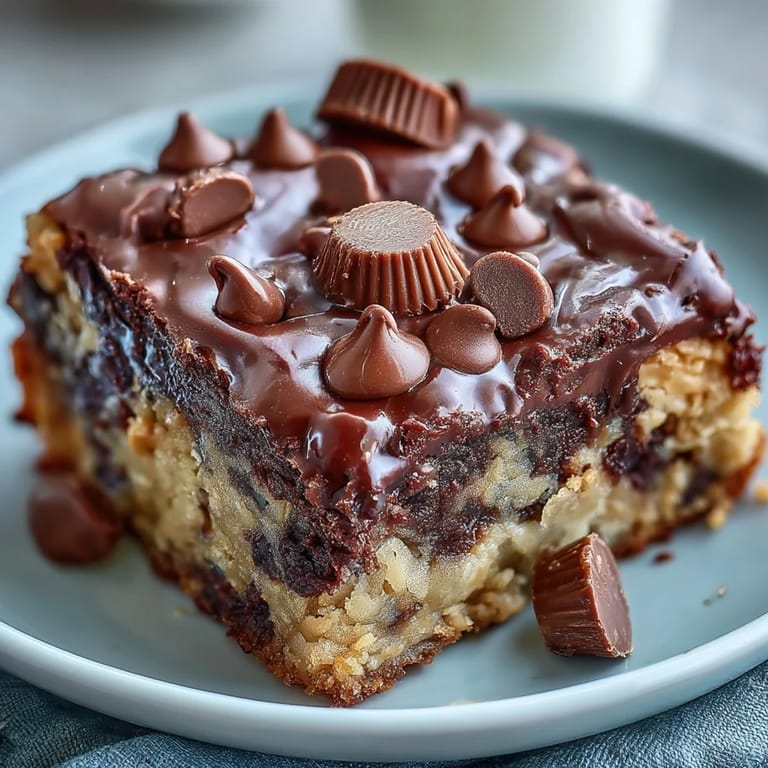
Save Last month, my cousin claimed she didnt like chocolate and peanut butter together, which I honestly thought was impossible. One slice of this later, she was quietly eating her second piece and admitted maybe she had been wrong her entire life. It won her over, and now she requests it for every family gathering.
Making It Your Own
Ive started keeping almond butter on hand because it creates this sophisticated flavor profile that surprised me. White chocolate chips turn it into something completely different, almost like a grown up version of the classic. These small tweaks let you serve it to the same crowd without anyone getting bored.
Timing Is Everything
Serving this warm is absolutely the way to go, especially with that vanilla ice cream melting into all the crevices. If you need clean slices for a party, though, you can make it a day ahead and store it in the refrigerator, then bring it to room temperature before serving. Both ways are spectacular, just different experiences.
Storage And Serving Ideas
This actually keeps pretty well at room temperature for a couple of days, though the peanut butter layer does firm up a bit. In the refrigerator, it lasts almost a week and becomes more fudgy over time. The texture shift is kind of amazing, like youre getting a different dessert on day three compared to day one.
- Sprinkle chopped roasted peanuts over the top before baking for this incredible crunch factor
- A drizzle of salted caramel takes it over the top if youre feeling extra indulgent
- Coffee ice cream instead of vanilla creates this mocha peanut butter situation that changed my life
 Save
Save Theres something almost magical about a recipe this simple creating something this comforting. I hope it brings the same joy to your kitchen as it has to mine.
Recipe FAQs
- → Can I make this ahead of time?
Yes, you can prepare this up to a day in advance. Store covered at room temperature for up to 2 days or refrigerate for up to 5 days. Warm individual servings in the microwave for 15-20 seconds if desired.
- → What's the best way to serve this dump cake?
Serve warm for the gooeyest texture, ideally with a scoop of vanilla ice cream. For cleaner slices, let it cool completely before cutting. The flavors develop more depth when served at room temperature.
- → Can I use natural peanut butter instead of creamy?
Creamy peanut butter works best as it spreads easily and creates a smooth layer. Natural peanut butter with oil separation may affect the texture. If using natural, stir thoroughly and consider warming slightly for easier spreading.
- → What size pan should I use?
A 9x13-inch (23x33 cm) baking dish is ideal for this recipe. The shallow depth allows for even baking and proper ratio of peanut butter layer to cake. A similar-sized rectangular or oval dish will also work.
- → Can I add extra mix-ins?
Absolutely! Try adding chopped roasted peanuts for extra crunch, white chocolate chips for a sweeter twist, or substitute almond butter for a different flavor profile. You can also drizzle with melted chocolate or peanut butter after baking.