 Save
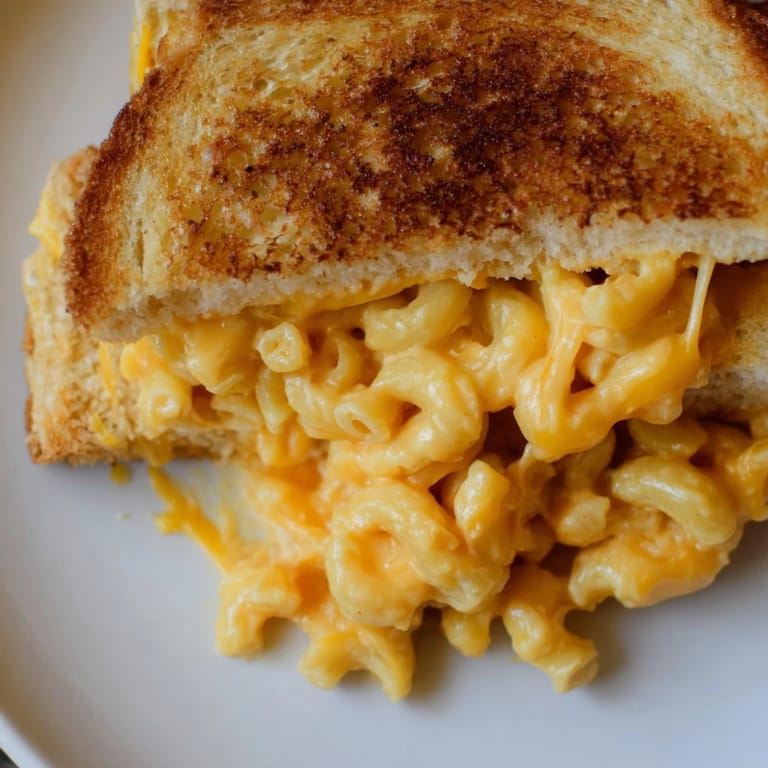
Save The skillet was too hot, and I panicked as the first slice of bread started to darken faster than I expected. I had just loaded it with a generous scoop of leftover mac and cheese from the night before, thinking it would be a quick lunch. What I didn't anticipate was how the creamy pasta would ooze out the sides, creating these crispy, lacy edges of cheese that crackled against the pan. That mistake turned into the best accident of the week, and I've been chasing that perfect golden crunch ever since.
I made these for my friend's kids on a rainy Saturday, and they devoured them in minutes, barely pausing to breathe. One of them declared it better than pizza, which I'm pretty sure is the highest compliment a seven year old can give. Their mom just laughed and asked for the recipe, admitting she'd been making plain grilled cheese for years and never thought to stuff it with pasta. Watching them dip the halves into little bowls of ketchup reminded me that comfort food doesn't have to be complicated to feel special.
Ingredients
- Elbow macaroni: The small, sturdy shape holds the cheese sauce perfectly and doesn't get too floppy when you bite into the sandwich.
- Sharp cheddar cheese: This brings a bold, tangy flavor that balances the richness of the butter and milk, and it melts into a smooth, glossy sauce.
- Unsalted butter: You'll use this twice, once in the mac and cheese for creaminess and again on the bread for that golden, crispy exterior.
- Whole milk: It loosens the cheese sauce just enough to make it silky without making it too runny.
- Sourdough or sandwich bread: Sourdough adds a slight tang and sturdiness, but any bread you love will work as long as it can hold up to the filling.
- Optional cheddar or American cheese slices: These add an extra layer of gooey, melty goodness that seals everything together.
Tired of Takeout? 🥡
Get 10 meals you can make faster than delivery arrives. Seriously.
One email. No spam. Unsubscribe anytime.
Instructions
- Cook the macaroni:
- Bring the water and salt to a rolling boil, then add the macaroni and stir occasionally to prevent sticking. Drain it well so there's no extra water diluting your cheese sauce.
- Make the cheese sauce:
- Melt the butter in the same pan, then stir in the hot macaroni, milk, shredded cheddar, and pepper until everything combines into a thick, creamy mixture. Let it cool for a few minutes so it firms up slightly and won't slide out of the sandwich.
- Assemble the sandwiches:
- Butter one side of each bread slice generously, then flip four of them over and pile on the mac and cheese. Add a slice of cheese on top if you want extra melt, then cap with the remaining bread slices, buttered side facing out.
- Cook the sandwiches:
- Place them in a preheated skillet over medium heat and press down gently with your spatula to help everything meld together. Flip after three to four minutes when the bottom is deep golden and crispy, then cook the other side until it matches.
- Rest and serve:
- Let the sandwiches sit for a minute or two after you pull them from the pan so the cheese sets just enough to avoid a molten lava situation. Slice them in half and serve while they're still warm and stretchy.
 Save
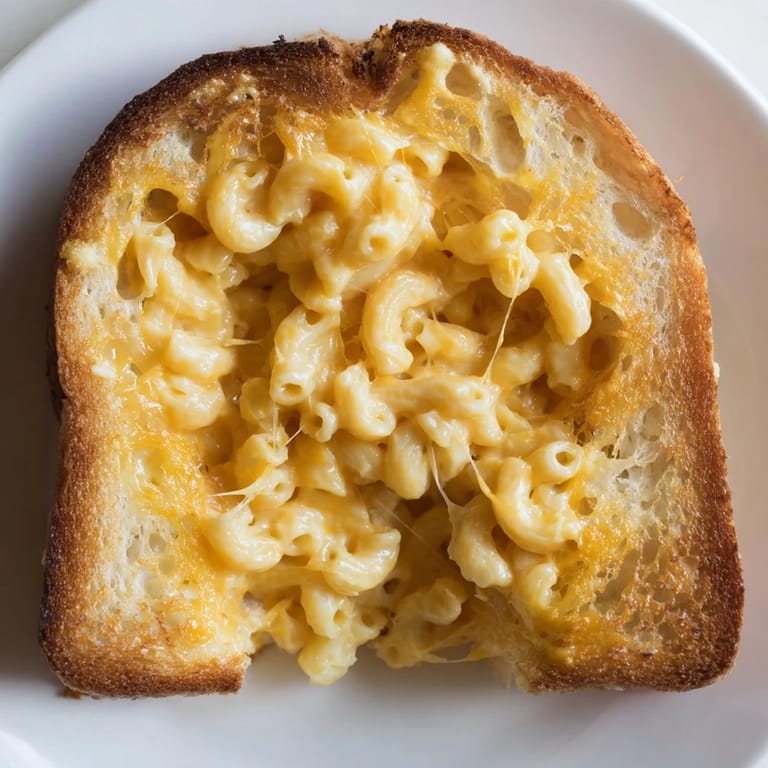
Save There was one evening when I made these after a long, frustrating day, and the simple act of watching the butter sizzle and smelling the toasted bread somehow reset my mood. I sat at the kitchen table with a sandwich cut into triangles, a bowl of tomato soup, and nothing else demanding my attention. It wasn't fancy, but it felt like exactly what I needed, and I realized that sometimes the most comforting meals are the ones that don't try too hard.
Making It Your Own
You can fold in crispy bacon bits, chopped green onions, or even a spoonful of caramelized onions into the mac and cheese before you assemble the sandwiches. I've also tucked in thin slices of tomato for a fresh contrast, and a few dashes of hot sauce stirred into the filling can add a nice kick. The beauty of this recipe is that it adapts to whatever's sitting in your fridge, so don't be afraid to experiment a little.
Storing and Reheating
If you have leftover sandwiches, wrap them tightly and store them in the fridge for up to two days. Reheat them in a skillet over low heat, covered, so the inside warms through without burning the outside. You can also freeze the assembled, uncooked sandwiches wrapped in foil, then cook them straight from frozen, adding a couple extra minutes per side.
Serving Suggestions
These sandwiches pair beautifully with a simple side salad, a handful of crispy pickles, or that classic bowl of tomato soup for dipping. I've also served them with a tangle of lightly dressed arugula on the side to cut through the richness.
- Cut them into small squares and serve as party appetizers.
- Pair with a cold beer or a glass of iced tea for an easy weeknight dinner.
- Add a fried egg on top for a breakfast version that's ridiculously satisfying.
 Save
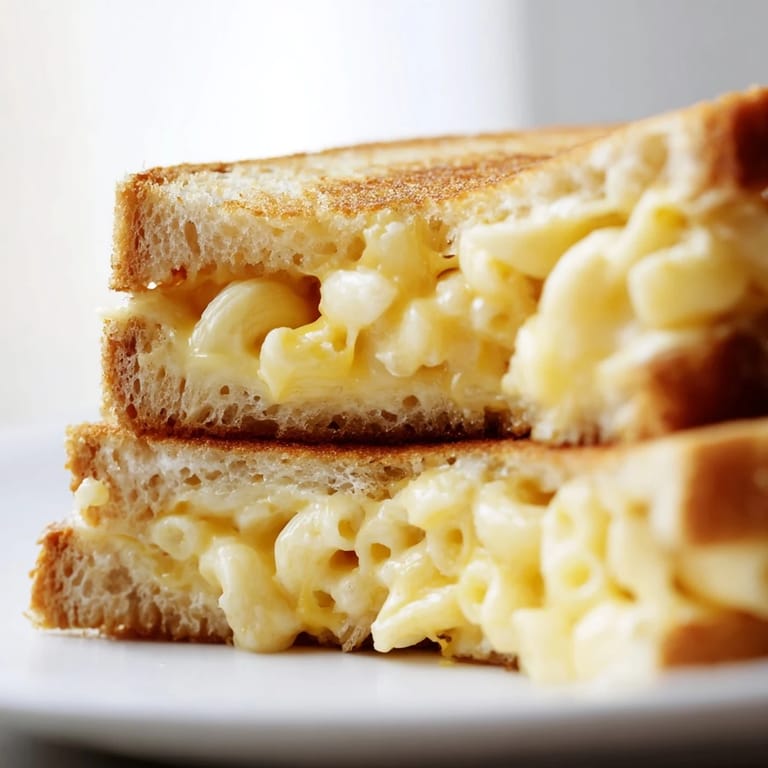
Save This sandwich is proof that you don't need fancy ingredients or complicated techniques to make something that feels indulgent and satisfying. Keep it simple, trust your instincts, and enjoy every crispy, cheesy bite.
Recipe FAQs
- → Can I make the macaroni and cheese ahead of time?
Yes, you can prepare the macaroni and cheese up to 2 days in advance. Store it in an airtight container in the refrigerator. When assembling sandwiches, you may need to add a splash of milk to loosen the sauce if it has thickened too much.
- → What type of bread works best for this sandwich?
Sourdough or sturdy sandwich bread work excellently because they hold up well to the creamy filling and griddling process. Avoid thin, delicate breads that may tear. Brioche or Texas toast are also good alternatives for added richness.
- → How do I prevent the filling from leaking out?
Ensure your macaroni and cheese has cooled slightly so it's thick enough not to ooze. Don't overfill each sandwich—use about 1/4 cup of filling per sandwich. Let the cooked sandwich rest for 1-2 minutes before slicing to allow it to set slightly.
- → Can I add extra ingredients to the macaroni and cheese?
Absolutely! Crispy bacon bits, chopped chives, caramelized onions, roasted garlic, or breadcrumb topping all enhance the flavor. Stir these additions into the cheese sauce before assembling the sandwiches for best results.
- → Is this sandwich suitable for meal prep?
While best served fresh, you can assemble uncooked sandwiches up to 2 hours ahead and cook them when ready. Store prepared sandwiches wrapped in plastic wrap in the refrigerator. Cook from room temperature for more even browning.
- → What temperature should I use for griddling?
Medium heat is ideal—it allows the bread to brown slowly and evenly while the cheese inside melts thoroughly. If heat is too high, the bread will burn before the cheese melts. Test with one sandwich first to adjust timing as needed.