 Save
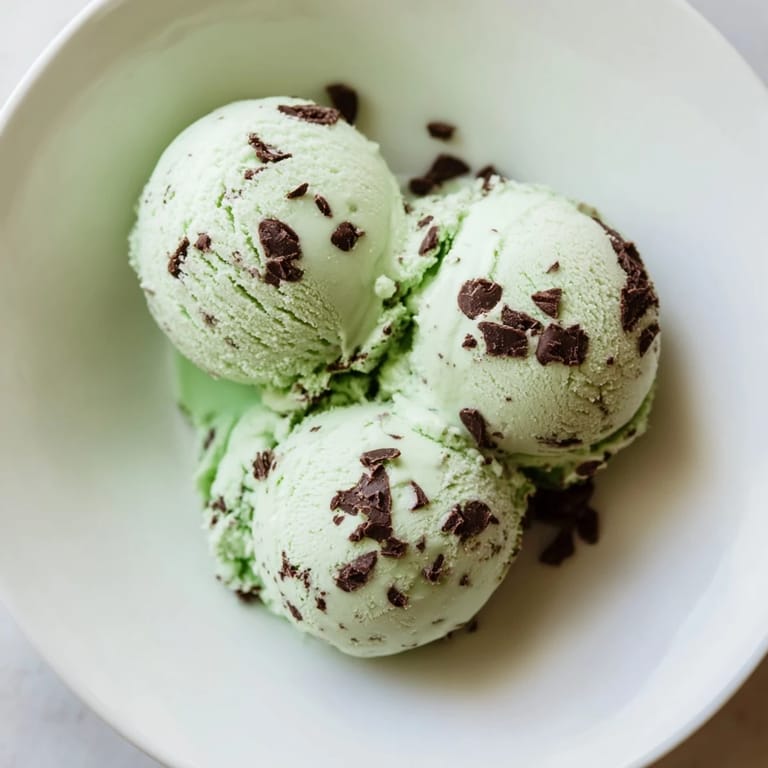
Save There's something magical about the moment when mint ice cream first hits your tongue on a sweltering afternoon, that sharp cool clarity followed by the creaminess that melts into pure contentment. I stumbled into this recipe after accidentally buying way too many fresh mint bundles at a farmers market, determined not to let them wilt away in my fridge. My first attempt was messy—I overheated the custard and ended up with something grainy and sad—but that failure taught me patience and precision in a way no perfect batch ever could. Now, whenever I churn this, I'm back in that kitchen, learning that sometimes the most rewarding desserts require showing up and getting it right, one cool spoonful at a time.
I made this for a dinner party once when someone casually mentioned they'd never had truly fresh mint ice cream, only that artificial green stuff from childhood. Watching their face light up when they tasted this was worth every minute of tempering and churning—they came back for three servings and asked for the recipe before dessert was even finished. That night reminded me that homemade ice cream isn't just about being delicious, it's about giving people something they didn't know they were missing.
Ingredients
- Heavy cream and whole milk: The ratio matters here—too much cream and your ice cream becomes heavy, not enough and it gets icy rather than silky; this balance creates that perfect texture.
- Granulated sugar: Split between tempering the custard base and sweetening the egg yolks, this keeps the final product from becoming grainy.
- Egg yolks: These are the foundation of a proper custard ice cream, creating that luxurious body you can't achieve any other way, and they need to be fresh and high quality.
- Peppermint extract: Use pure extract, not imitation, because the difference between a fresh-tasting finish and a medicinal one comes down to this single ingredient.
- Vanilla extract: Just a touch rounds out the mint and prevents the flavor from becoming one-dimensional or bitter.
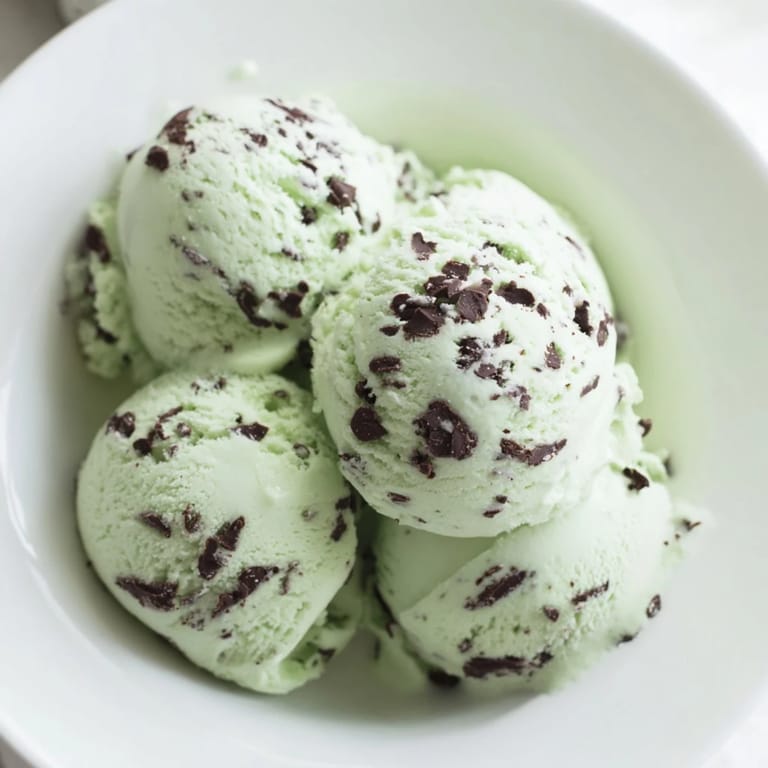
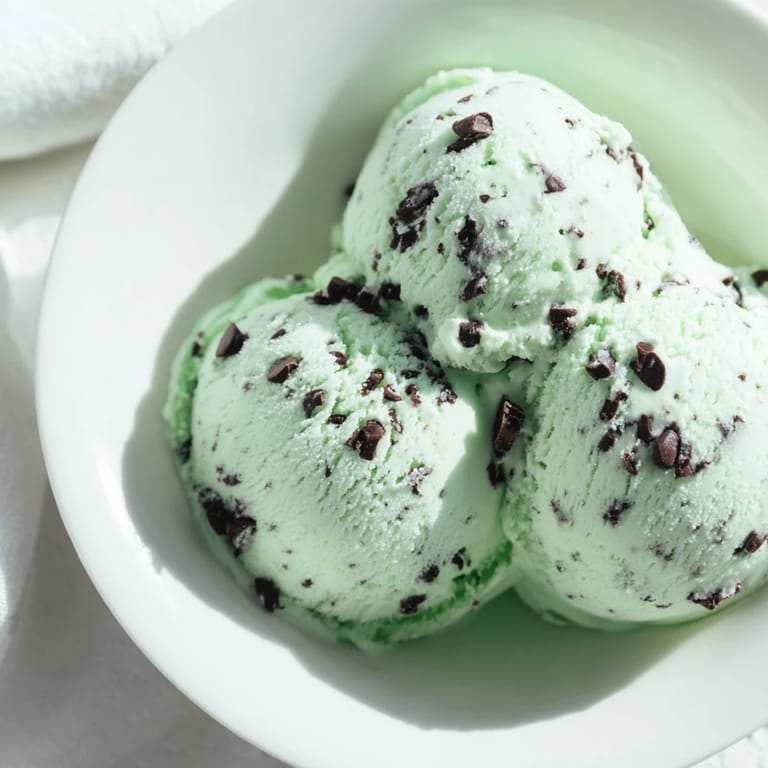
- Semisweet chocolate chips: The smaller the better, because they distribute evenly and surprise you throughout each bite rather than clustering in clumps.
Tired of Takeout? 🥡
Get 10 meals you can make faster than delivery arrives. Seriously.
One email. No spam. Unsubscribe anytime.
Instructions
- Warm the cream base:
- Combine heavy cream, milk, and half the sugar in your saucepan, heating until it just steams and tiny bubbles form around the edges—you want it hot enough to cook the eggs but not so hot it scrambles them. Watch carefully; that line between perfect and ruined happens fast.
- Whisk the egg yolks:
- In a separate bowl, whisk the yolks with remaining sugar until they're pale yellow and have thickened slightly, which usually takes a minute or two of steady whisking. This combination of air and sugar is what prevents the custard from breaking when you add the hot cream.
- Temper the eggs:
- Slowly pour about a cup of the hot cream into the yolks while whisking constantly, as if you're slowly teaching them to accept the heat rather than shocking them into scrambled submission. This step is crucial and worth taking slowly—there's no prize for rushing it.
- Cook the custard:
- Return everything to the saucepan over low heat, stirring constantly with a wooden spoon, until the mixture coats the back of the spoon and reaches 170-175°F—you're looking for that moment when it thickens just enough to cling rather than run. Use a thermometer if you have one; your instincts will improve over time, but precision matters here.
- Add the mint and vanilla:
- Once you remove the custard from heat, stir in the peppermint extract, vanilla, and food coloring if using—the warm custard will carry these flavors beautifully. Don't skip the vanilla; it's the secret that keeps the mint from tasting one-dimensional.
- Strain and chill:
- Pour the custard through a fine-mesh sieve into a clean bowl to catch any cooked egg bits or lumps, which is worth the extra step for silky smoothness. Chill it thoroughly, ideally overnight, because cold custard churns into better ice cream than warm or even room-temperature versions.
- Churn and freeze:
- Follow your ice cream maker's instructions, and add the chocolate chips during the final minute of churning so they stay intact rather than getting broken up. Transfer to a freezer container and give it 2-4 hours in the freezer to reach that perfect scoopable firmness.
 Save
Save Years ago, my neighbor knocked on my door carrying a spoon and a hopeful smile, having caught the smell of fresh mint and vanilla wafting through our shared fence line. I gave her a small container straight from the freezer, and we stood in my kitchen eating it directly from the carton while talking about our week—that moment felt less about dessert and more about connection, which is when I realized this recipe had become about more than just ice cream.
The Mint Question
The choice between extract and fresh mint leaves is one of those cooking moments where either direction works, but they give you different results. Fresh mint steeped in the warm cream creates a more delicate, herbaceous flavor with subtle green undertones, while the extract delivers a bolder, more immediately recognizable peppermint punch—pick based on your mood and what kind of mint experience you're after. I tend to use extract for consistency and because fresh mint can vary wildly in intensity depending on the season and plant health, but there's real magic in steeping if you want something that tastes like you picked it from your garden and froze it within the hour.
Chocolate Chip Timing
Adding the chocolate chips at the very end of churning keeps them intact and distributed rather than broken into cocoa dust, which changes the whole eating experience. If you add them too early, the churning motion fragments them; add them too late and they won't freeze into the ice cream properly, instead sitting as a melted layer at the bottom of your container.
Make It Your Own
This recipe is sturdy enough to handle variations without falling apart, so don't be afraid to experiment based on what you have and what sounds good. A splash of rum or Irish cream whiskey can turn this into something for late-night dessert, dark chocolate chips give you a more sophisticated bitterness against the mint, and adding a handful of crushed cookie pieces during the churn creates textural interest that makes each bite feel different.
- For a dairy-free version, swap in full-fat coconut milk and coconut cream in equal proportions to the dairy, though the texture will be slightly less creamy.
- If you don't have an ice cream maker, freeze the custard in a shallow container and stir it every 30 minutes for 3-4 hours, which creates a grainier but still delicious result.
- Store in an airtight container and eat within two weeks, because homemade ice cream doesn't have the stabilizers of commercial versions and will eventually develop ice crystals.
 Save
Save This ice cream has become my summer ritual and my winter comfort, the thing I make when I want to give someone a gift they'll actually remember. There's something deeply satisfying about serving something cold, creamy, and perfectly mint-scented that you made yourself, knowing exactly what went into every spoonful.
Recipe FAQs
- → How can I intensify the mint flavor?
Steep a handful of fresh mint leaves in the milk and cream before mixing with egg yolks, then strain for a stronger mint infusion.
- → What type of chocolate works best for the chips?
Semisweet or bittersweet chocolate chips provide a balanced sweetness and contrast well with the fresh mint flavor.
- → Can I substitute dairy ingredients?
For a dairy-free variation, replace heavy cream and whole milk with coconut cream and coconut milk, keeping the texture rich.
- → How important is the tempering process?
Tempering the egg yolks with warm cream prevents curdling and ensures a smooth, velvety custard base.
- → What tools are necessary for preparation?
A medium saucepan, mixing bowls, whisk, wooden spoon, fine-mesh sieve, ice cream maker, and freezer-safe container are required to make this chilled dessert.
- → How long should chilling and freezing take?
Chill the custard for at least 3 hours or overnight, then freeze for 2-4 hours after churning to achieve firm texture.